For sites operating with drive thru, a dedicated plan is created to manage order and payment points, as well as the number of spaces and parking bays available. This page outlines the initial setup, including how to add special drive-thru buttons and define the plan position. The full drive-thru plan itself is created separately.
Drive Thru Setup Topics
Setup
Follow these steps to setup drive thru
-
Open the required Shared or Local Panel
Zonal recommends for busy drive thru locations this is added to the root panel found in Theme Modelling → Theme Panel Designs → Designs -
From the Button Picker navigate to Other Lists | Drive Thru
-
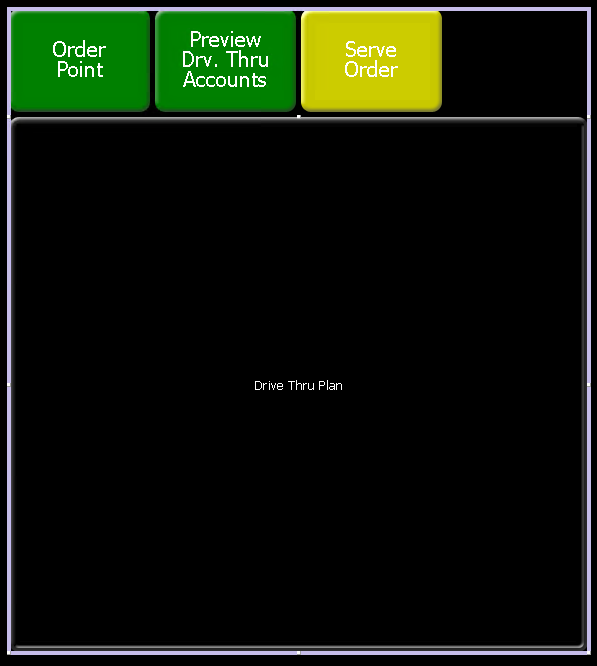
Drag the Drive Thru Plan button on to the shared or local panel
-
Use the toggles on the site panel button to drag and increase / decrease the size
The larger the size the more space is available to configure the plan -
Add the following other buttons on to the same panel as the plan
-
Order Point
-
Serve Order
-
Preview Drv. Thru Account
-
-
Click Save